Content Based Image Retrieval (CBIR)

Simple image classification was a challenge in computer vision not so long ago. All of this changed with the use of deep CNN architectures. Models like ResNet that use skip connections, leading to much deeper architectures have consistently shown impressive results on the ImageNet dataset. Due to the success of these models in other tasks through transfer learning, it is apparent that they are able to extract relevant information from an RGB image. In this post, we will attempt to use a ResNet which has been trained on ImageNet to extract relevant features from our dataset and use these features to find similar images. This is broadly known as “Content Based Image Retrieval” where similar images are found based on semantic similarity. To replicate these results you will need PyTorch, faiss, NumPy and matplotlib. If you just want the code, I have it on my github.
For this project, we will use this Jewellery dataset. This dataset contains four classes:
- Bracelets (309 images).

- Earrings (472 images).

- Necklaces (301 images).

- Rings (189 images).

The images have the jewellery item in focus with a white background. This is a very clean dataset and should give us good results.
Downloading the dataset
1
2
3
4
wget --no-check-certificate 'https://docs.google.com/uc?export=download&id=0B4KI-B-t3wTjbElMTS1DVldQUnc' -O Jewellery.tar.gz
tar xvf Jewellery.tar.gz
rm Jewellery/*.gz
rm Jewellery/*.zip
The above lines of code will download and extract the dataset using the terminal. They can be run in a jupyter notebook as well by inserting a ‘!’ before each line. After running the above code, you should have a directory called Jewellery which contains 4 different subdirectories with the names of each of the 4 different classes. Sound familiar? This is because this is exactly the format required by the torchvision.datasets.ImageFolder class! Unfortunately, as of the writing of this blog, this class does not return the name of the file.
Building a custom ImageFolder class
We can make one very small modification to the builtin ImageFolder class so that it also returns the filenames. We require the file names to have a mapping of images with their extracted features.
1
2
3
4
5
6
7
8
9
10
11
12
13
14
15
class ImageFolderWithPaths(datasets.ImageFolder):
    """Custom dataset that includes image file paths. Extends
    torchvision.datasets.ImageFolder
    Source: https://gist.github.com/andrewjong/6b02ff237533b3b2c554701fb53d5c4d
    """

    # override the __getitem__ method. this is the method that dataloader calls
    def __getitem__(self, index):
        # this is what ImageFolder normally returns
        original_tuple = super(ImageFolderWithPaths, self).__getitem__(index)
        # the image file path
        path = self.imgs[index][0]
        # make a new tuple that includes original and the path
        tuple_with_path = (original_tuple + (path,))
        return tuple_with_path
As you can see from the above code, just by adding a couple of lines to the __getitem__ method, we are able to return the file names along with the image tensor and a label if necessary.
Preprocessing the input data
We do not require a lot of preprocessing for this sample dataset. Here we will just resize the input images to (224 x 224) as that is the input size required by the ResNet. This can be achieved using a simple torchvision.transforms.Resize(). We also have to normalize our input tensor with the same parameters as used to train the network on imagenet. This is what our preprocessing looks like:
1
2
3
4
5
6
7
8
9
transforms_ = transforms.Compose([
    transforms.Resize(size=[224, 224], interpolation=2),
    transforms.ToTensor(),
    transforms.Normalize(mean=[0.485, 0.456, 0.406],
                        std=[0.229, 0.224, 0.225])
])

dataset = ImageFolderWithPaths('Jewellery', transforms_) # our custom dataset
dataloader = torch.utils.data.DataLoader(dataset, batch_size=1)
Downloading the model
We will be using the pretrained ResNet50 from torchvision.models. You can try using the same logic on multiple different CNN architectures but we will be using ResNet50 for this blog.
1
2
DEVICE = 'cuda' if torch.cuda.is_available() else 'cpu'
model = models.resnet50(pretrained=True)
ResNet is by default used for classification. We don’t want the output from the output layer of the ResNet. We will consider our feature vector to be the output of the last pooling layer. To extract the output from this pooling layer, we will use a small function:
1
2
3
4
5
6
7
def pooling_output(x):
    global model
    for layer_name, layer in model._modules.items():
        x = layer(x)
        if layer_name == 'avgpool':
            break
    return x
Here avgpool is the name of the last pooling layer in the structure of our model.
Creating feature vectors
We now have everything we require to create our feature vectors. This is a very straightforward process. Make sure you put the model in eval() mode before running this!
1
2
3
4
5
6
7
8
9
10
11
# iterate over data
image_paths = []
descriptors = []
model.to(DEVICE)
with torch.no_grad():
    model.eval()
    for inputs, labels, paths in dataloader:
        result = pooling_output(inputs.to(DEVICE))
        descriptors.append(result.cpu().view(1, -1).numpy())
        image_paths.append(paths)
        torch.cuda.empty_cache()
Once this code finishes execution, congratulations! You have now built feature vectors from your dataset. But how do you find similar images from these feature vectors? This is where faiss comes in. The description of faiss from its github is “A library for efficient similarity search and clustering of dense vectors”. This is a library created by Facebook which is super fast at similarity search, which is exactly what we want.
Installing faiss
1
2
3
4
wget https://anaconda.org/pytorch/faiss-gpu/1.2.1/download/linux-64/faiss-gpu-1.2.1-py36_cuda9.0.176_1.tar.bz2
tar xvjf faiss-gpu-1.2.1-py36_cuda9.0.176_1.tar.bz2
cp -r lib/python3.6/site-packages/* /usr/local/lib/python3.6/dist-packages/
pip install mkl
You may want to replace my version with the latest one. But I cannot promise that it will work the same, so in case of any errors, try installing the same version of faiss that I have.
Creating a faiss index
The way that we will use faiss is that first we will create a faiss index using our precalculated feature vectors. Then at runtime we will get another image. We will then run this image through our model and calculate its feature vector as well. We will then query faiss with the new feature vector to find similar vectors. It should be clearer with code.
1
2
3
4
5
6
7
import numpy as np
import faiss


index = faiss.IndexFlatL2(2048)
descriptors = np.vstack(descriptors)
index.add(descriptors)
Calculating the feature vector of a query image and searching using faiss
1
2
3
4
5
6
7
8
query_image = 'Jewellery/bracelet/bracelet_048.jpg'
img = Image.open(query_image)

input_tensor = transforms_(img)
input_tensor = input_tensor.view(1, *input_tensor.shape)
with torch.no_grad():
    query_descriptors = pooling_output(input_tensor.to(DEVICE)).cpu().numpy()
    distance, indices = index.search(query_descriptors.reshape(1, 2048), 9)
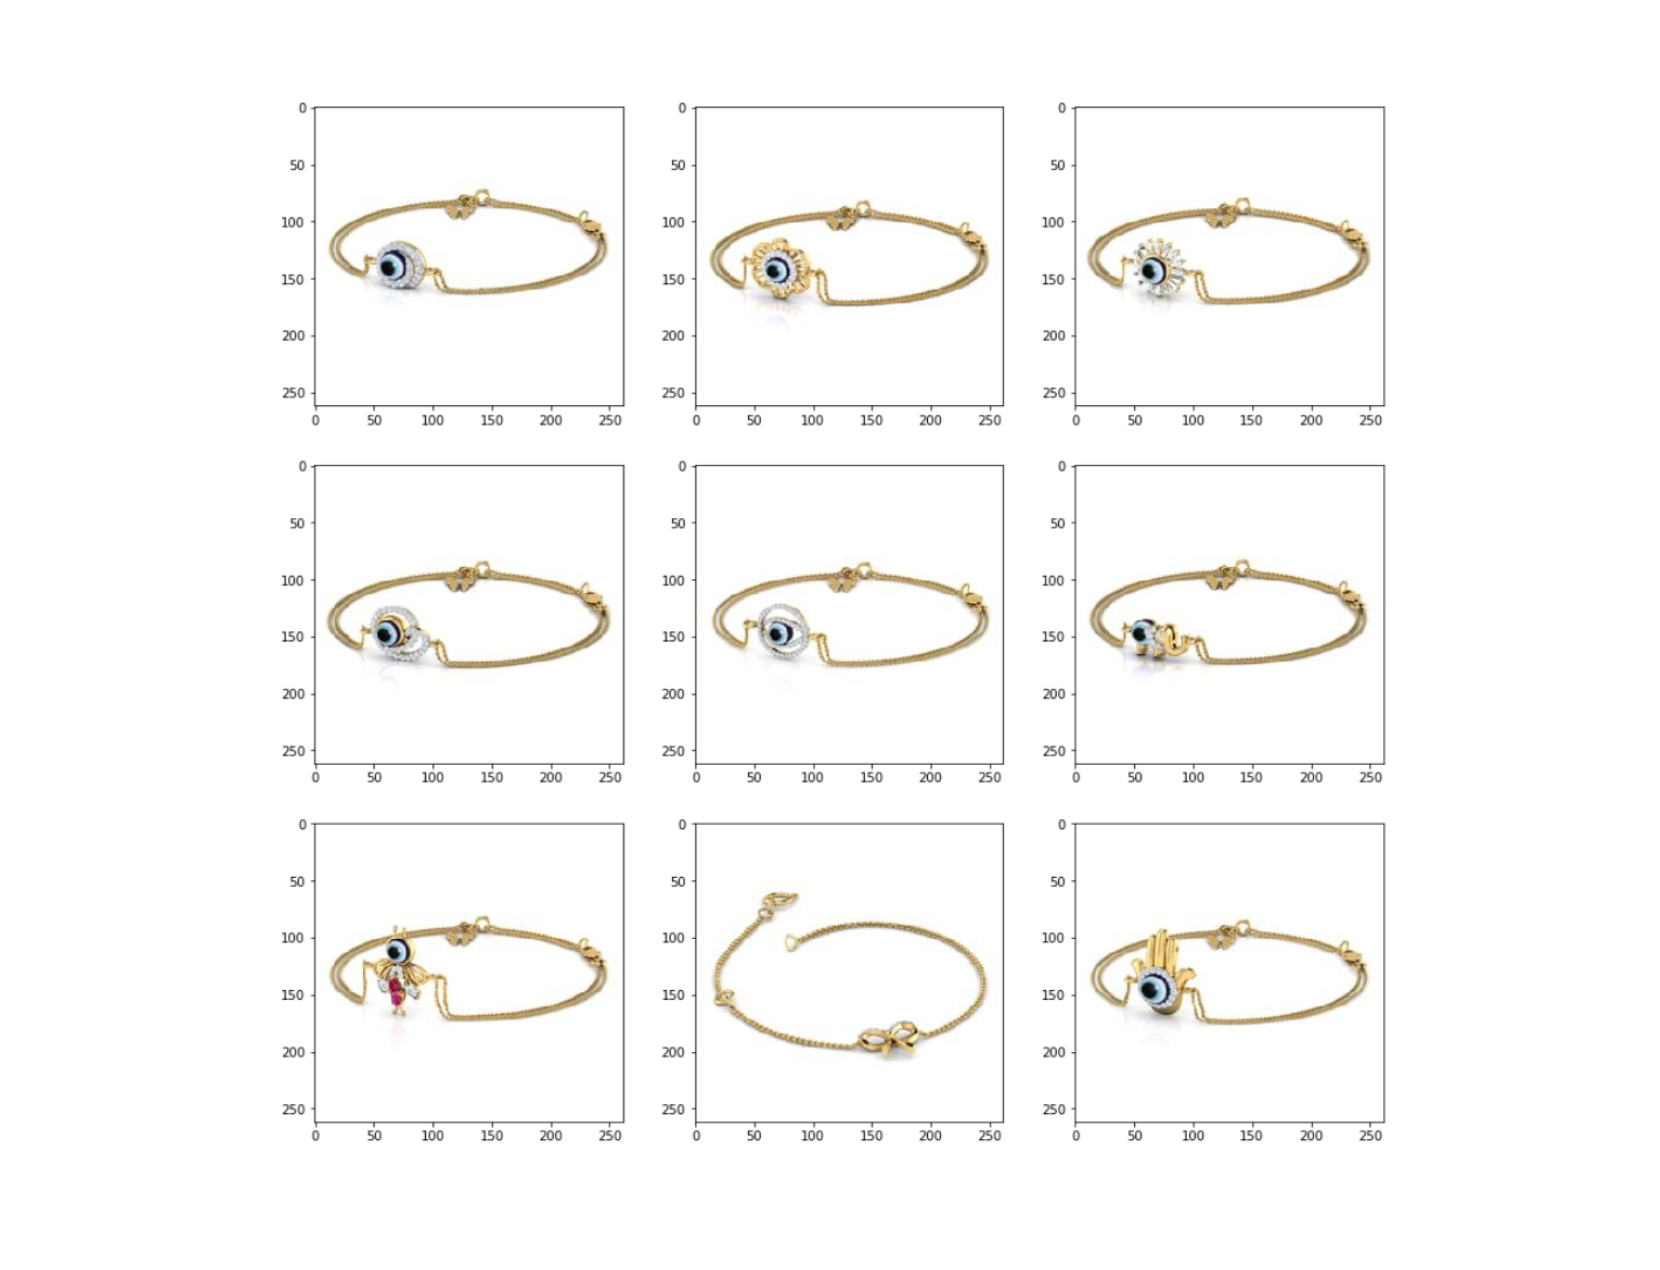
Using the above piece of code, I got the following results:
-
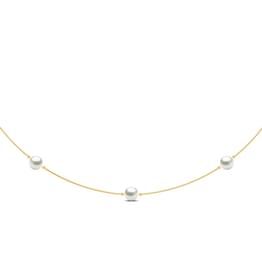
Query image:

-
Top 9 results:

The results are not that bad! The first image is just the query image as naturally it will have the most similar vector. The rest of the images are what I would say pretty similar to the query image. This is especially apparent because of the circular piece of jewellery at the center of the bracelet. But I would say for a model not trained at all on this specific dataset, the results are acceptable. You can try training the model on the actual dataset, augmenting the images, adding a bit of noise to make the model a bit more general or any other technique you want to try and improve the performance of the model.
The complete code for this project is available in the form of a jupyter notebook on my github or on nbviewer. You can leave any questions, comments or concerns in the comment section below. I hope this post was useful :)